Configuring Installation Policies
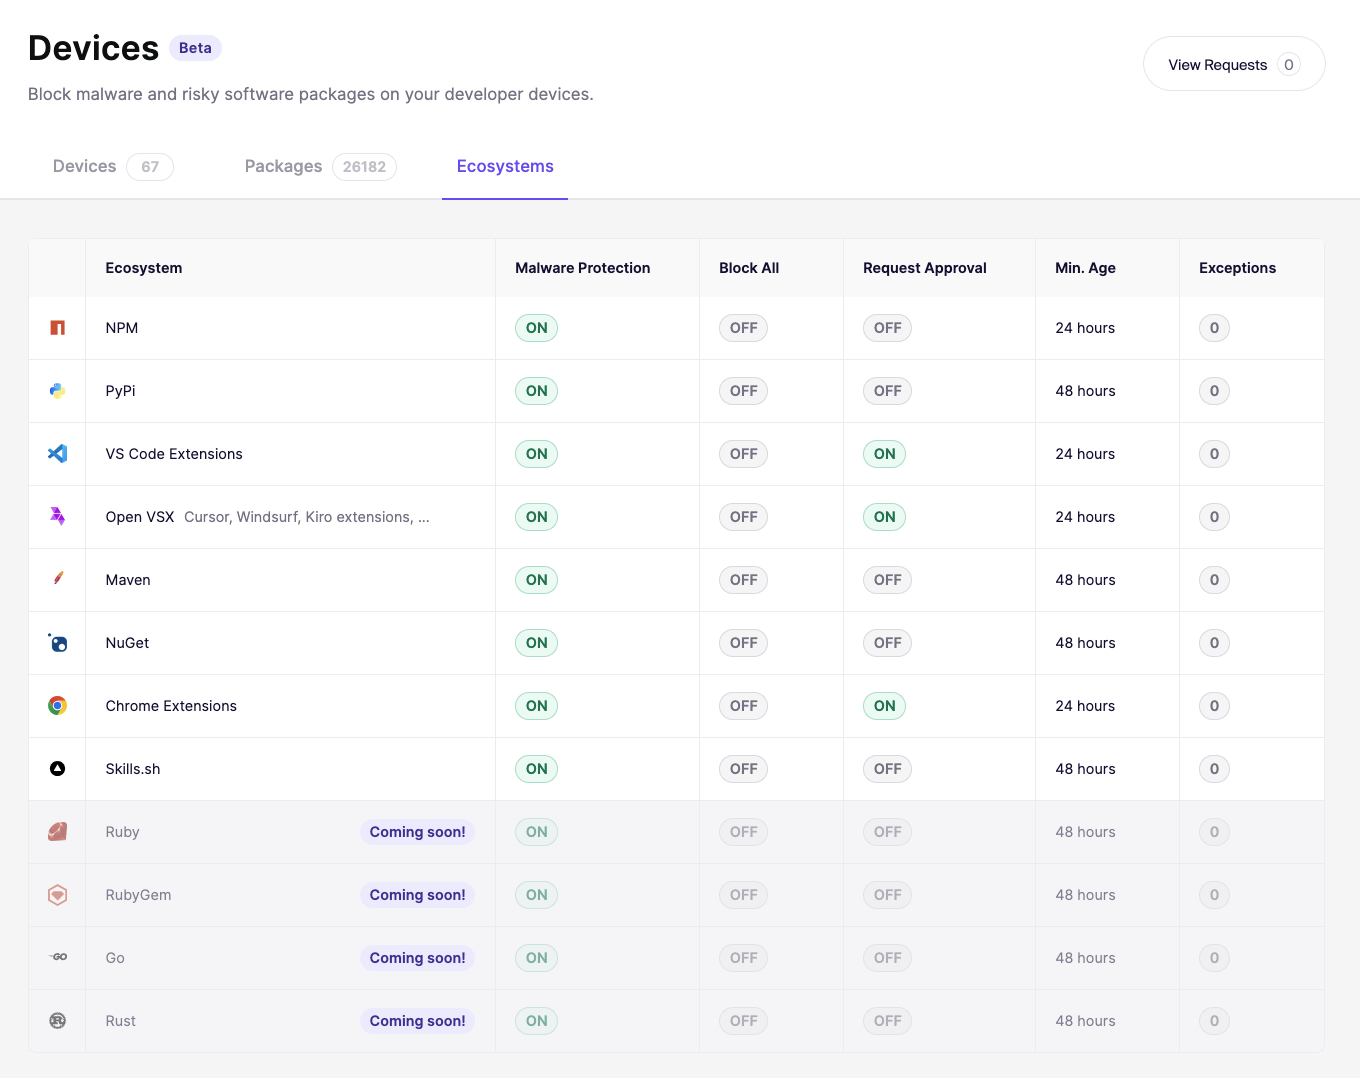
You can set installation policies for each ecosystem independently. This lets you control what happens when someone on your team tries to install a new package.
Accessing policy settings
Go to Device Protection and open the Settings tab. You will see a list of all supported ecosystems with their current policy status. Click on any ecosystem to configure its settings.

How Aikido decides to block or allow a package
When a package is installed, Aikido checks it against a set of rules in order. The first rule that matches decides the outcome.
1
Package is identified as malware
Always blocked. No exceptions.
2
Your group has an exception that blocks this package
Blocked
3
Your group has an exception that allows this package, or an admin previously approved it
Allowed
4
Block All Installs is enabled for this ecosystem
Blocked
5
Force Requests is enabled and the package has not been requested yet (or was previously denied)
Held for approval. A request is sent to the Inbox.
6
No rules match
Allowed
Group exceptions always take priority over default settings. If you're unsure why an install was blocked or allowed, check your group exceptions first.
Available controls

Block All Installs
When enabled, all installations from that ecosystem are blocked on connected devices. No new packages can be installed until you turn this off or create an exception.
Use this when you want to fully lock down an ecosystem for your organization.
Force Requests for New Packages
When enabled, team members cannot install new packages on their own. Instead, their install attempt is sent to the Inbox for admin approval. The admin can then approve or reject it.
This is a good middle ground when you want oversight without completely blocking installs.
Minimum Package Age
Sets how long a package must have existed before it can be installed. For example, if set to 24 hours, any package published less than 24 hours ago will be blocked.
This helps protect against supply chain attacks, where an attacker publishes malicious code to a public registry and tries to get people to install it before the community can flag it.
Exceptions
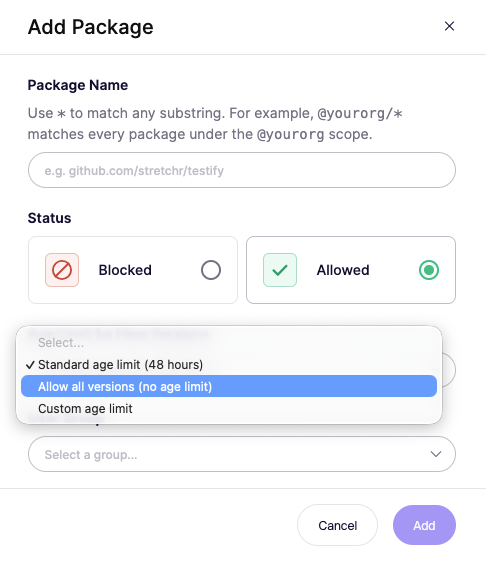
Exceptions let you override your default policies for specific packages or user groups. This is useful when your default policy is strict but certain teams need access to specific tools.
For example, you might block all Chrome extensions by default but allow a set of approved extensions for your Product team. Or you might require approval for all NPM installs but let your engineering group install trusted libraries without waiting.
Adding an exception
Go to Device Protection and open the Settings tab.
Click on the ecosystem you want to configure.
Scroll down to the Exceptions section.
Click Add Exception.
Choose a policy type, specify the packages or values it applies to, and select the user groups it targets.
Package identifiers vary by ecosystem. Double-check the correct identifier before adding an exception.

Exception types
Allow specific package(s) allows specific packages to be installed, even if the ecosystem is set to "Block All Installs" or "Force Requests." You can list one or more packages and assign the exception to specific user groups.
Block specific package(s) blocks specific packages for the selected user groups, even if the default policy would allow them. Use this to prevent known risky packages from being installed.
Block all installs blocks all installs from the ecosystem for specific user groups, even if the default policy allows them. Use this when you want to lock down a group without changing the setting for the whole organization.
Force requests for new packages requires admin approval for new installs within the selected user groups, even if the default policy does not require it. This lets you add an approval step for specific teams without turning it on for everyone.
Last updated
Was this helpful?