{% endstep %}
{% step %}
**ブローカーを設定**
以下のガイドに従って、Local Scan ワークスペースを通じてブローカーを設定してください。デプロイしたら、ここに戻って GitHub Enterprise のセットアップを完了します。
{% content-ref url="/pages/57eb4d0e1ea0df52e494af68c47a0c2a1e884bc1" %}
[内部アプリケーション向け Aikido Broker](/docs/docs-ja/miscellaneous-info/aikido-broker-for-internal-applications.md)
{% endcontent-ref %}
{% endstep %}
{% step %}
**Aikido GitHub App を GitHub Enterprise にインストール**
ブローカーを作成して環境にデプロイしたら、GitHub Enterprise のセットアップを完了できます。
まず、次をコピーします。 **ブローカーURL**。次のような見た目です:
```
https://55673-355dsfwea68cb.aikidobroker.com
```
次に、 **GitHub Server のセットアップを完了**.
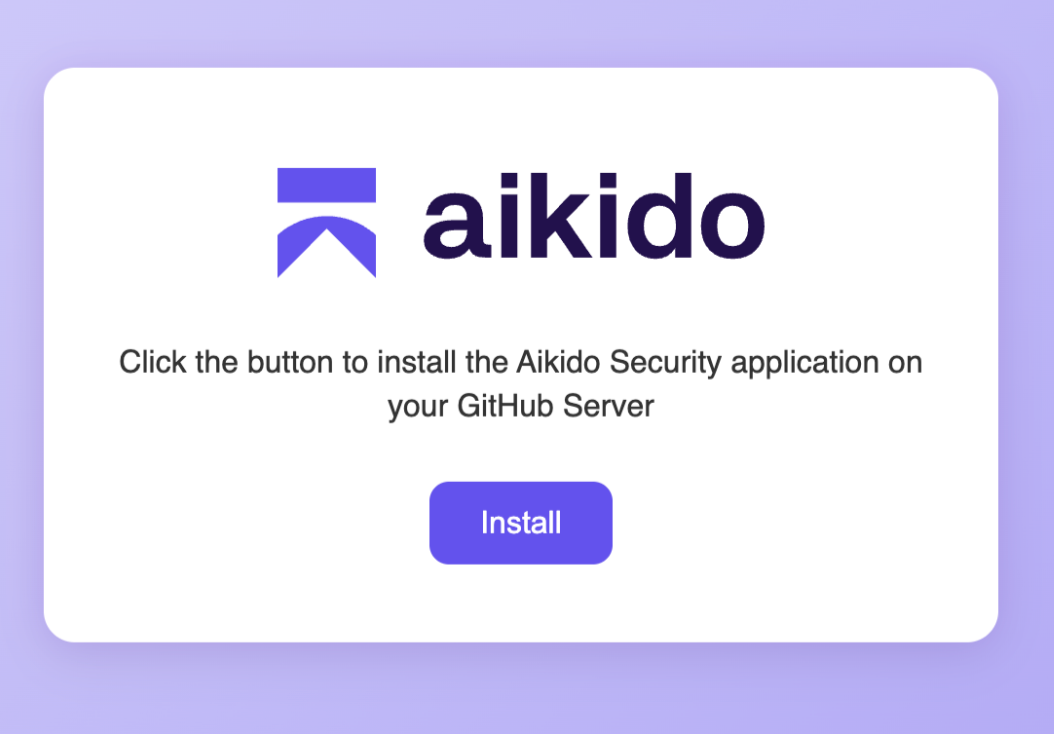
という名前のファイルが `install.html` が端末にダウンロードされます。これには、GitHub Enterprise に JSON ペイロードを送信して GitHub App を作成するフォームを含む HTML ページが入っています。
ファイルをブラウザで開き、「インストール」を選択してセットアップを続行してください。
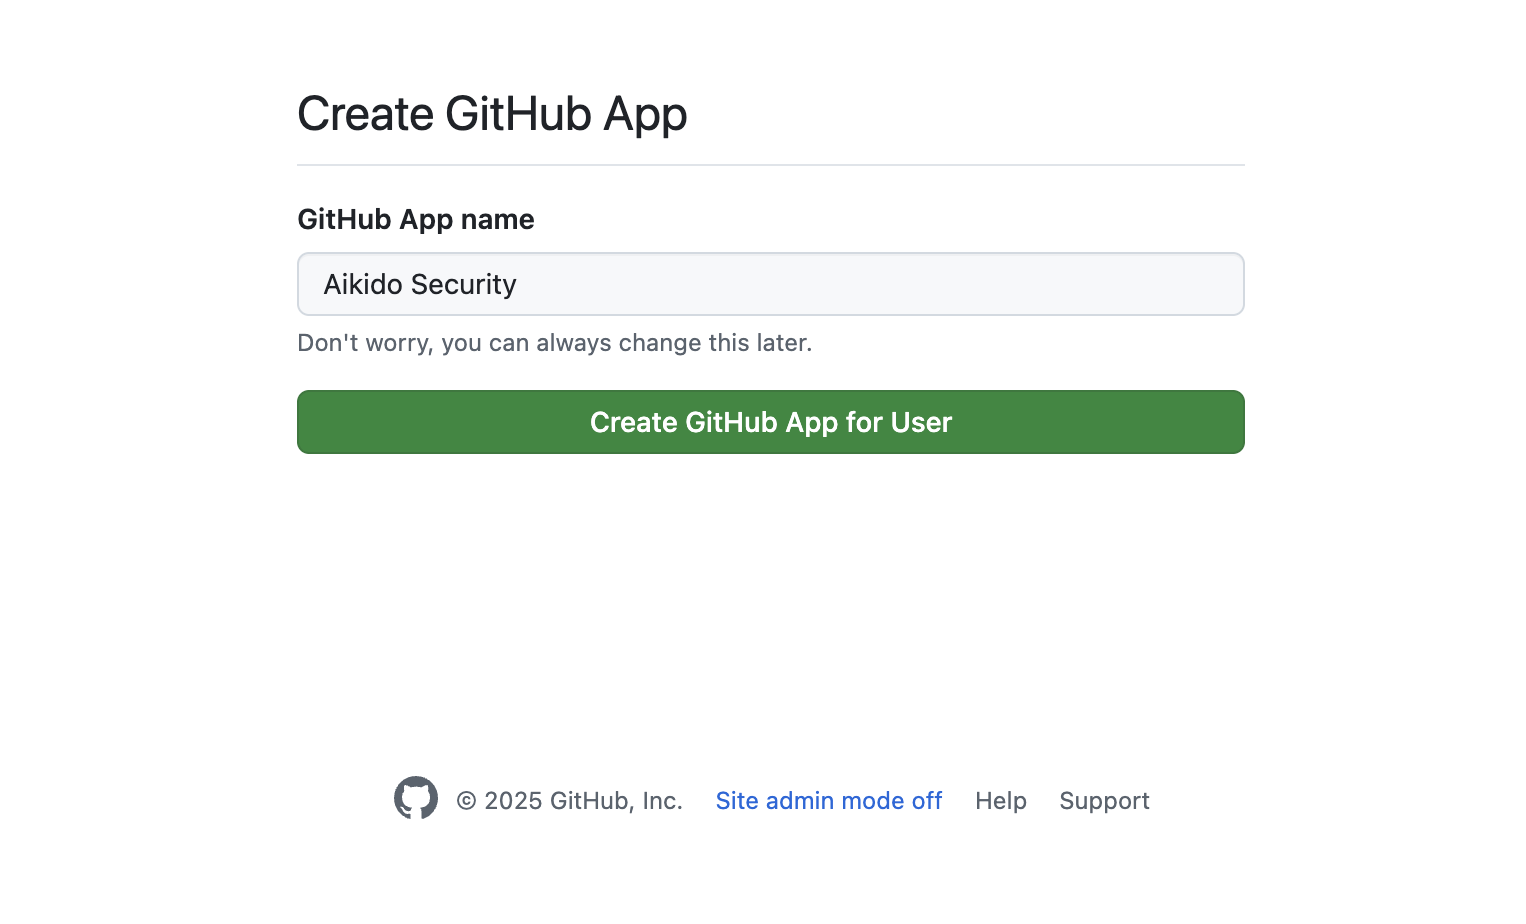
「インストール」をクリックすると、GitHub Enterprise 上のアプリのインストールを促すページにリダイレクトされます。 `ユーザー用の GitHub App を作成` して、サーバー上にアプリを作成します。
{% endstep %}
{% step %}
**Aikido GitHub App を承認**
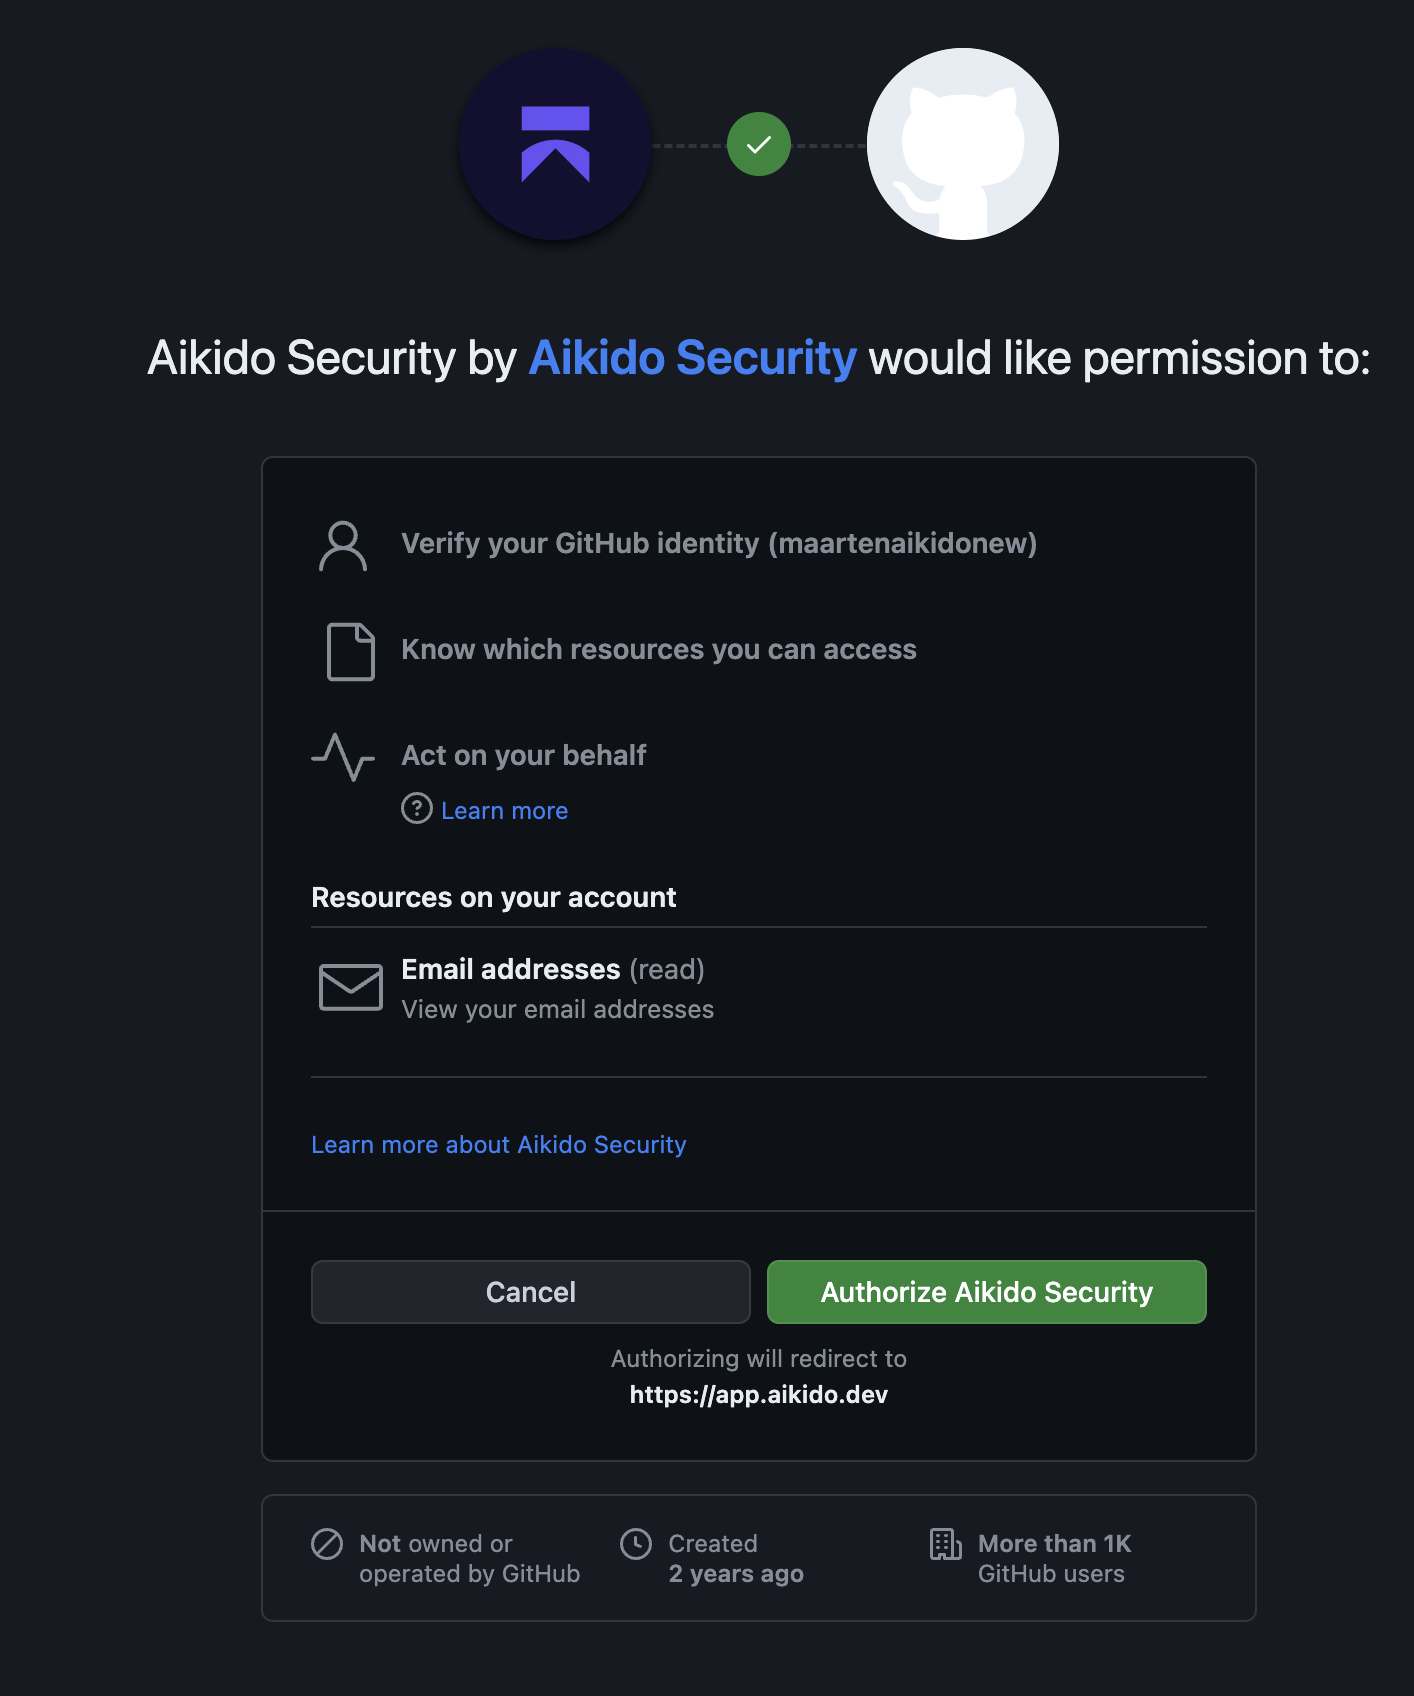
次に、OAuth を通じて新しい GitHub App をユーザーアカウントで承認する必要があります。この手順では、アプリが正しく作成されたことと、その使用権限があることを確認します。表示される画面は、以下の例と似ています。
{% endstep %}
{% step %}
**GitHub 組織を接続**
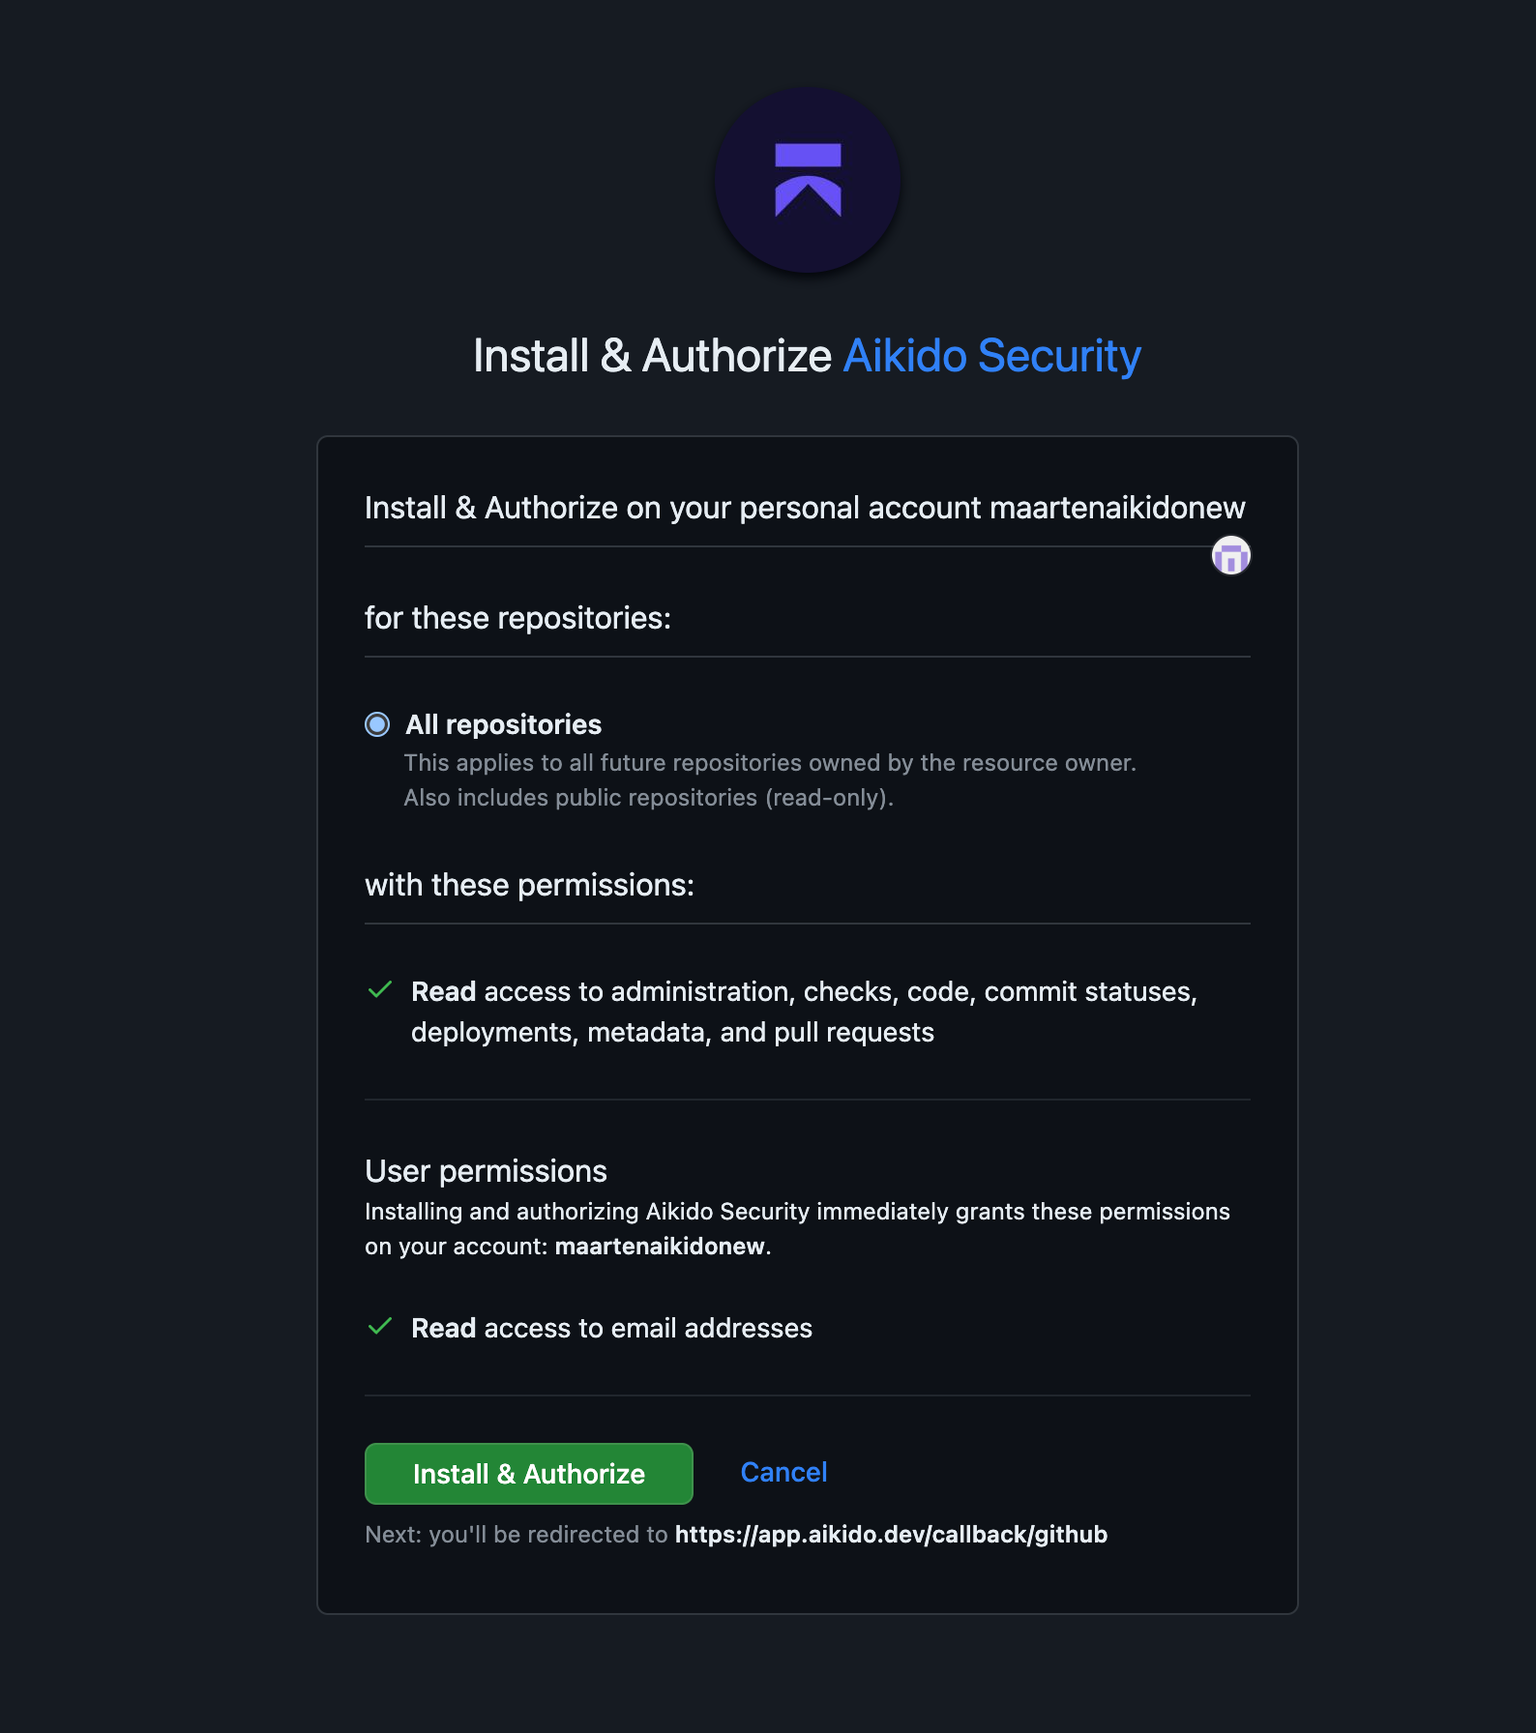
アプリケーションをインストールして Aikido にリンクしたい GitHub 組織を選択してください。あとで組織を追加することもできます。組織を選択したら、GitHub App の承認を確認してください。
これで Aikido に戻り、どのリポジトリをスキャンするかを選択できます。必要なリポジトリを選択して続行してください。Aikido は選択したアプリケーションのスキャンを開始します。
{% endstep %}
{% step %}
**Aikido を試す**
アクセスを付与し、スキャンしたいリポジトリを検証すると、ワークスペースは変換され、Aikido は自動的にスキャンを開始します。約 1 分後には、最初の結果が表示されるはずです
{% endstep %}
{% endstepper %}
---
# Agent Instructions
This documentation is published with GitBook. GitBook is the documentation platform designed so that both humans and AI agents can read, navigate, and reason over technical content effectively. Learn more at gitbook.com.
## Querying This Documentation
If you need additional information that is not directly available in this page, you can query the documentation by asking a question.
Perform an HTTP GET request on the following URL with the `ask` and `goal` query parameters:
```
GET https://help.aikido.dev/docs/docs-ja/kdosukyan/connect-your-source-code/connect-github-enterprise/connect-github-enterprise-cloud-and-server-broker-set-up.md?ask=&goal=
```
`ask` is the immediate question: it should be specific, self-contained, and written in natural language.
`goal` is what the user is ultimately trying to achieve, the reason they need the answer. Sharing it helps GitBook give you a better, more relevant answer. A goal is most helpful when it describes the outcome the user wants rather than restating the question. For example, with `ask=how do I create an API token`, a goal like `automate deployments from our CI pipeline` lets GitBook tailor the answer to that use case.
The response will contain a direct answer to the question and relevant excerpts and sources from the documentation.
Use this mechanism when the answer is not explicitly present in the current page, you need clarification or additional context, or you want to retrieve related documentation sections.