> For the complete documentation index, see [llms.txt](https://help.aikido.dev/llms.txt). Markdown versions of documentation pages are available by appending `.md` to page URLs; this page is available as [Markdown](https://help.aikido.dev/docs/docs-ja/kdosukyan/connect-your-source-code/connect-gitlab-account-to-aikido/code-scanning-with-a-service-account-access-token.md).
# Service Account Access Tokenを使ったコードスキャン
### ⚠️ 免責事項
このガイドは以下の場合にのみ利用できます **Gitlab Premium および** **Gitlab Ultimate** ユーザー向けです。セットアップ方法については次もご確認ください [個人アクセストークン](/docs/docs-ja/kdosukyan/connect-your-source-code/connect-gitlab-account-to-aikido/code-scanning-with-a-personal-access-token.md) 用の **Gitlab Free** ユーザー
### はじめに
Aikido がコードスキャンを実行するために使用するサービスアカウントトークンを利用できます。このトークンは次で更新できます: [ワークスペースのアクセストークンを更新](https://app.aikido.dev/onboarding/gitlab/update-workspace-access-token) ページ。
### サービスアカウントとアクセストークンの作成
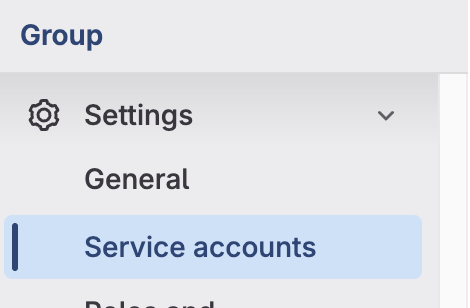
1. 「Service Accounts」設定ページに移動します。Group > Settings > Service accounts
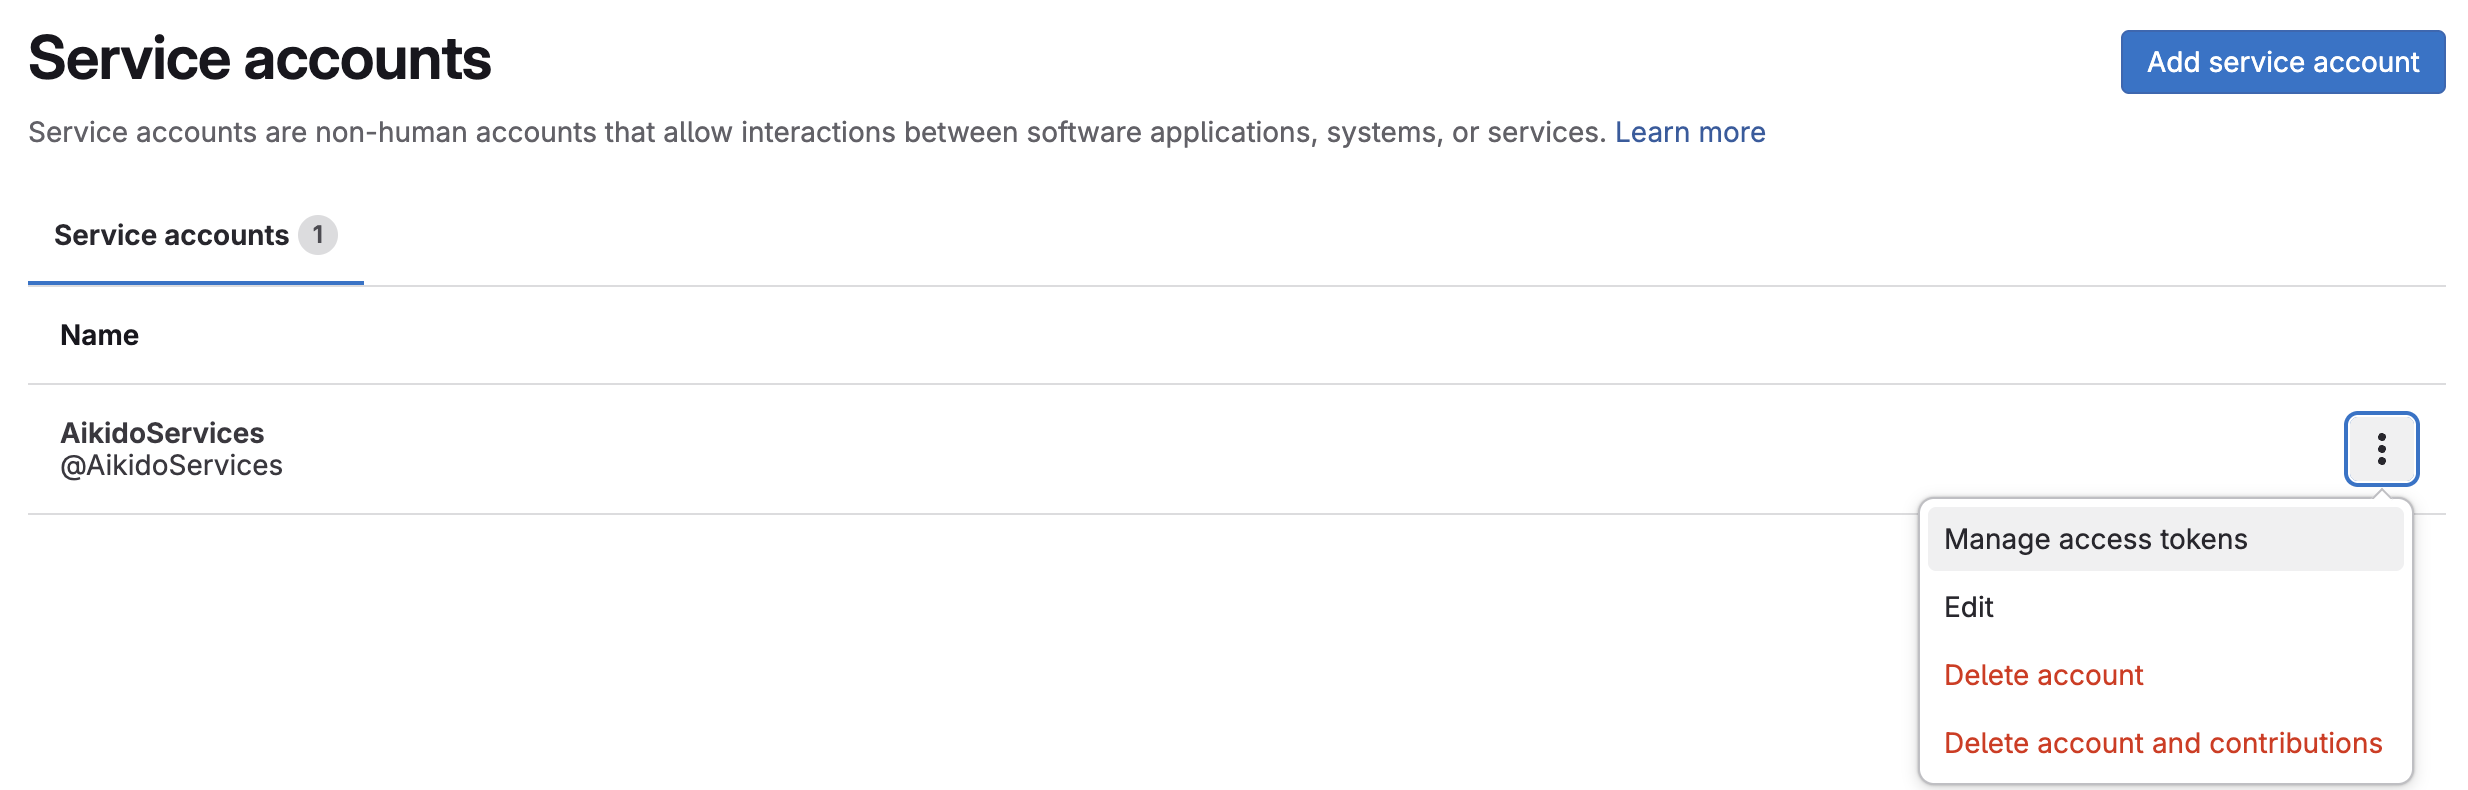
2. 「**サービス アカウントを追加**"
3. 付与する **名前** と **ユーザー名** サービスアカウントに付与し、クリックします **作成**
4. 新しく作成したサービスアカウントのオプションをクリックし、次を選択します **アクセストークンを管理**
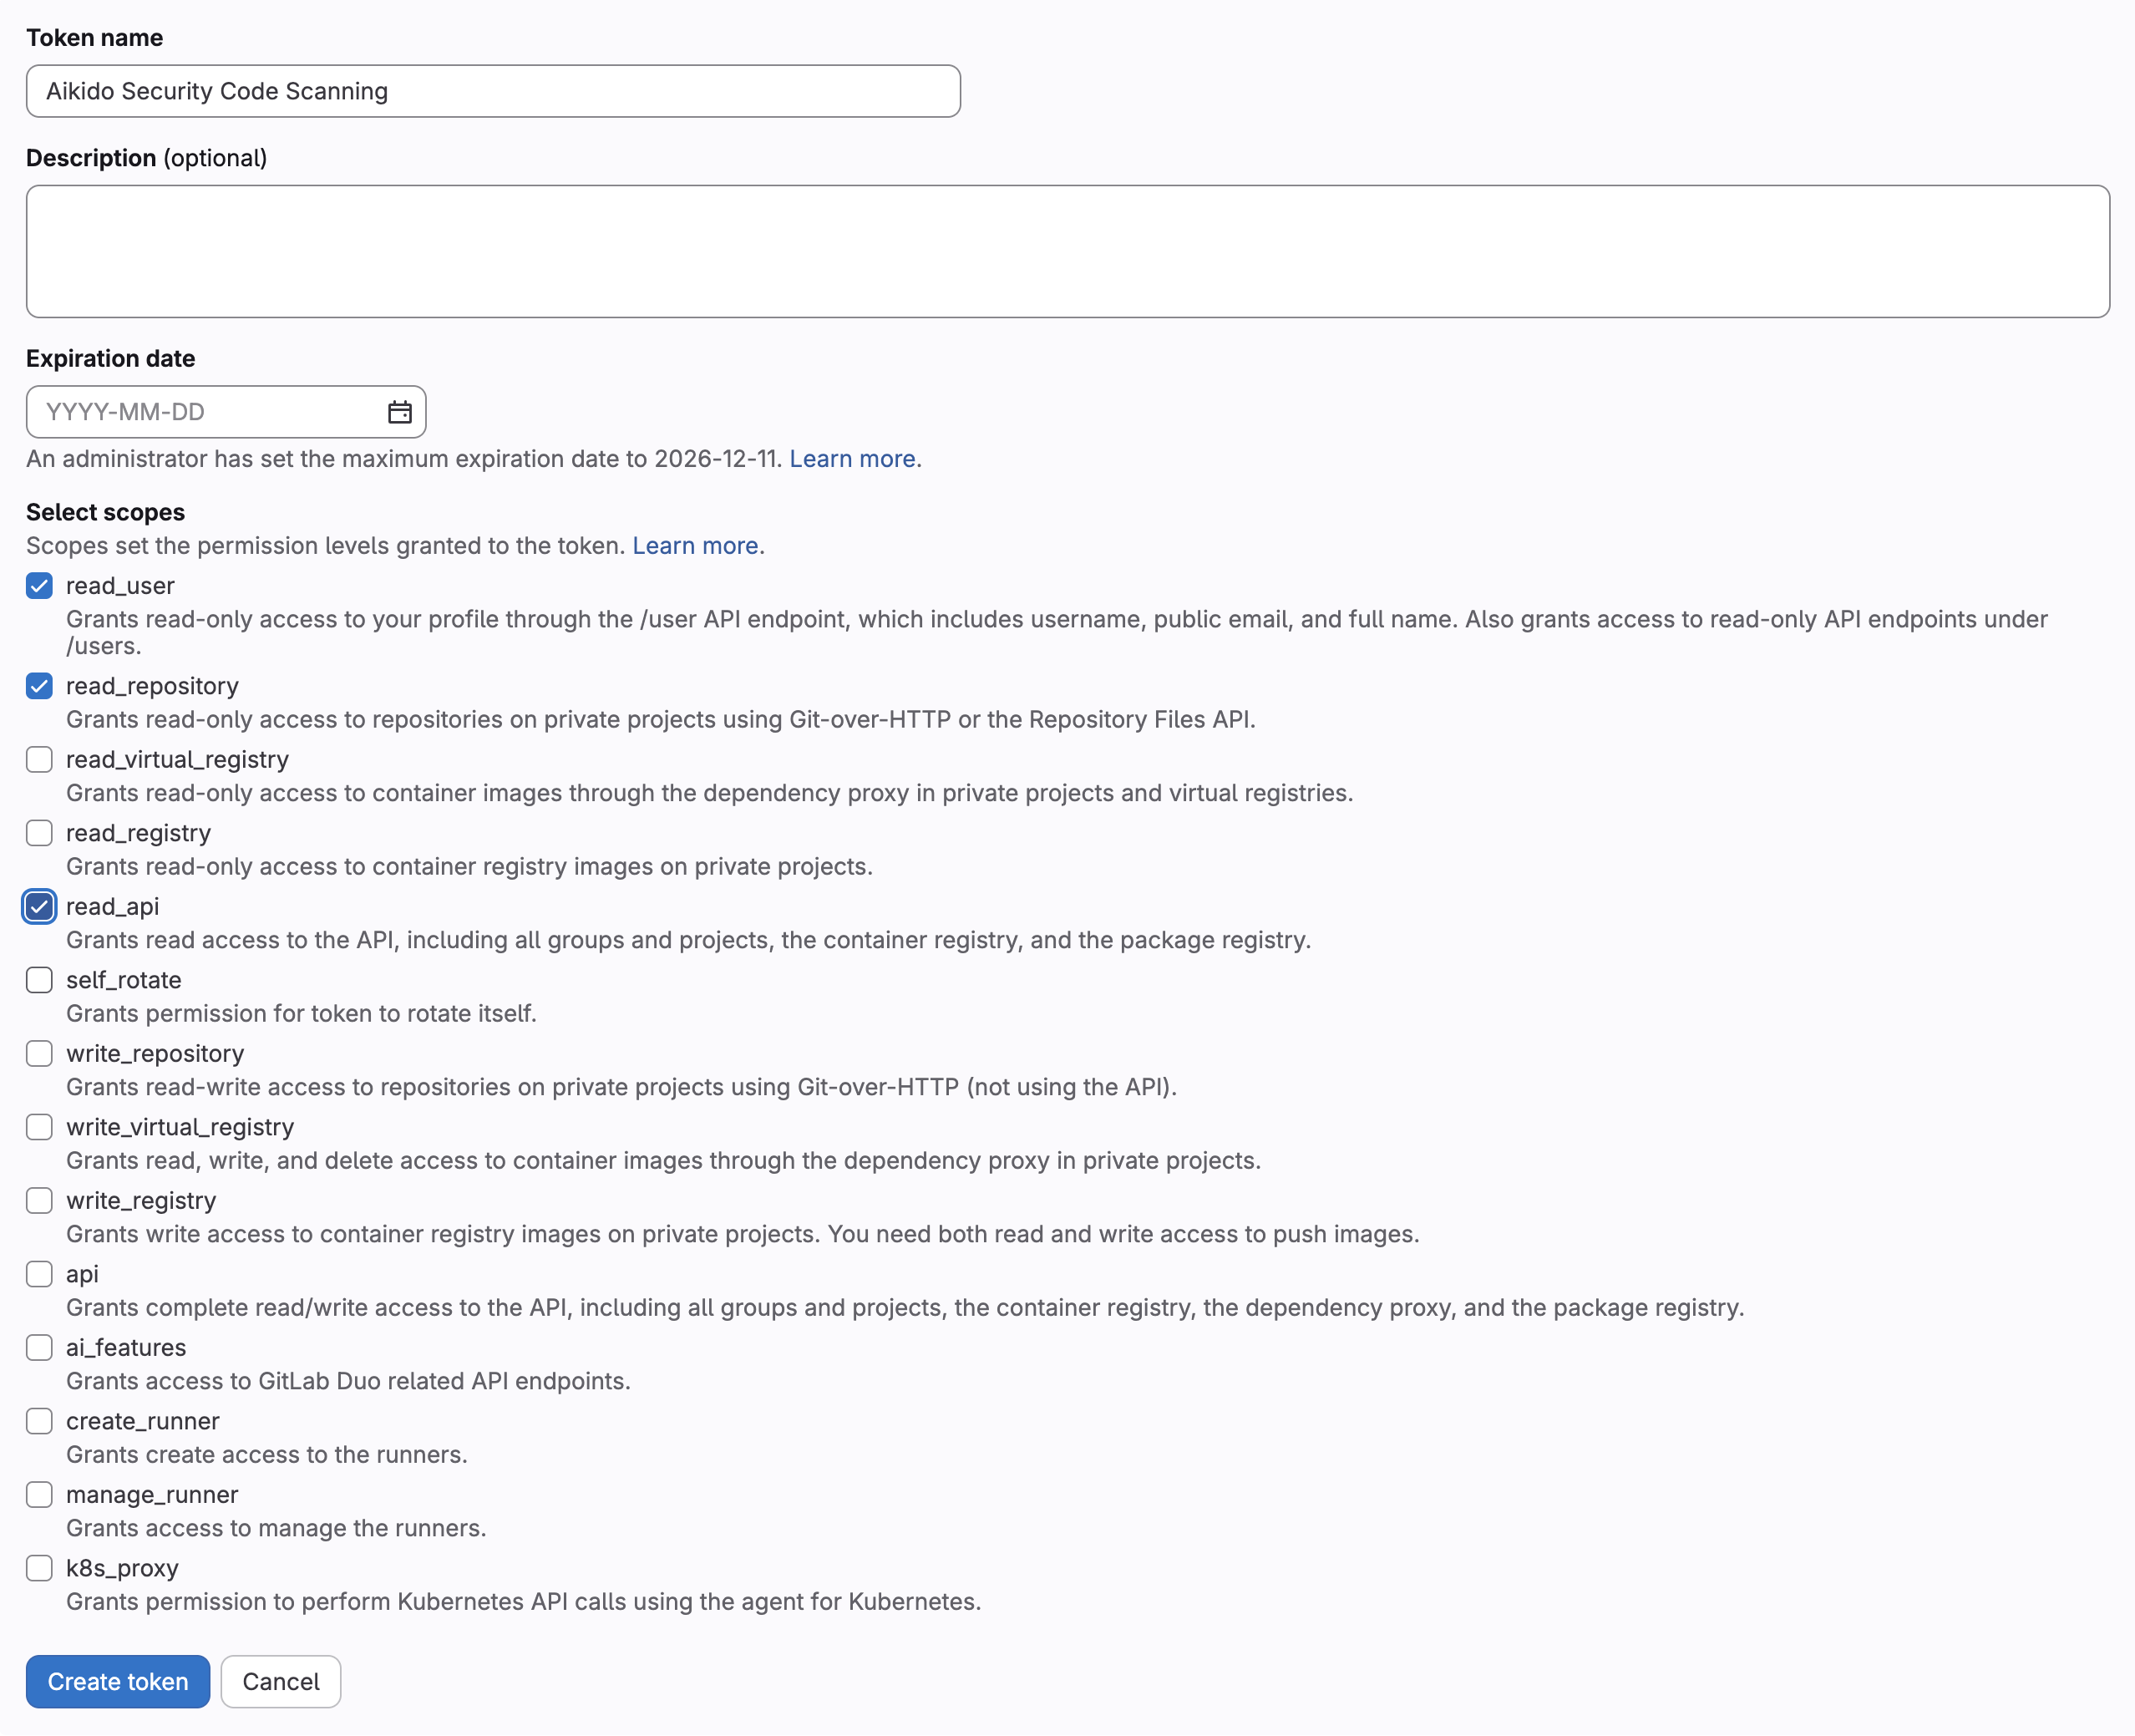
5. 「**新しいトークンを追加**"
6. トークン名を入力し、有効期限を削除するか最大値に設定して、次を選択します **api** スコープ
7. 「**トークンを作成**"
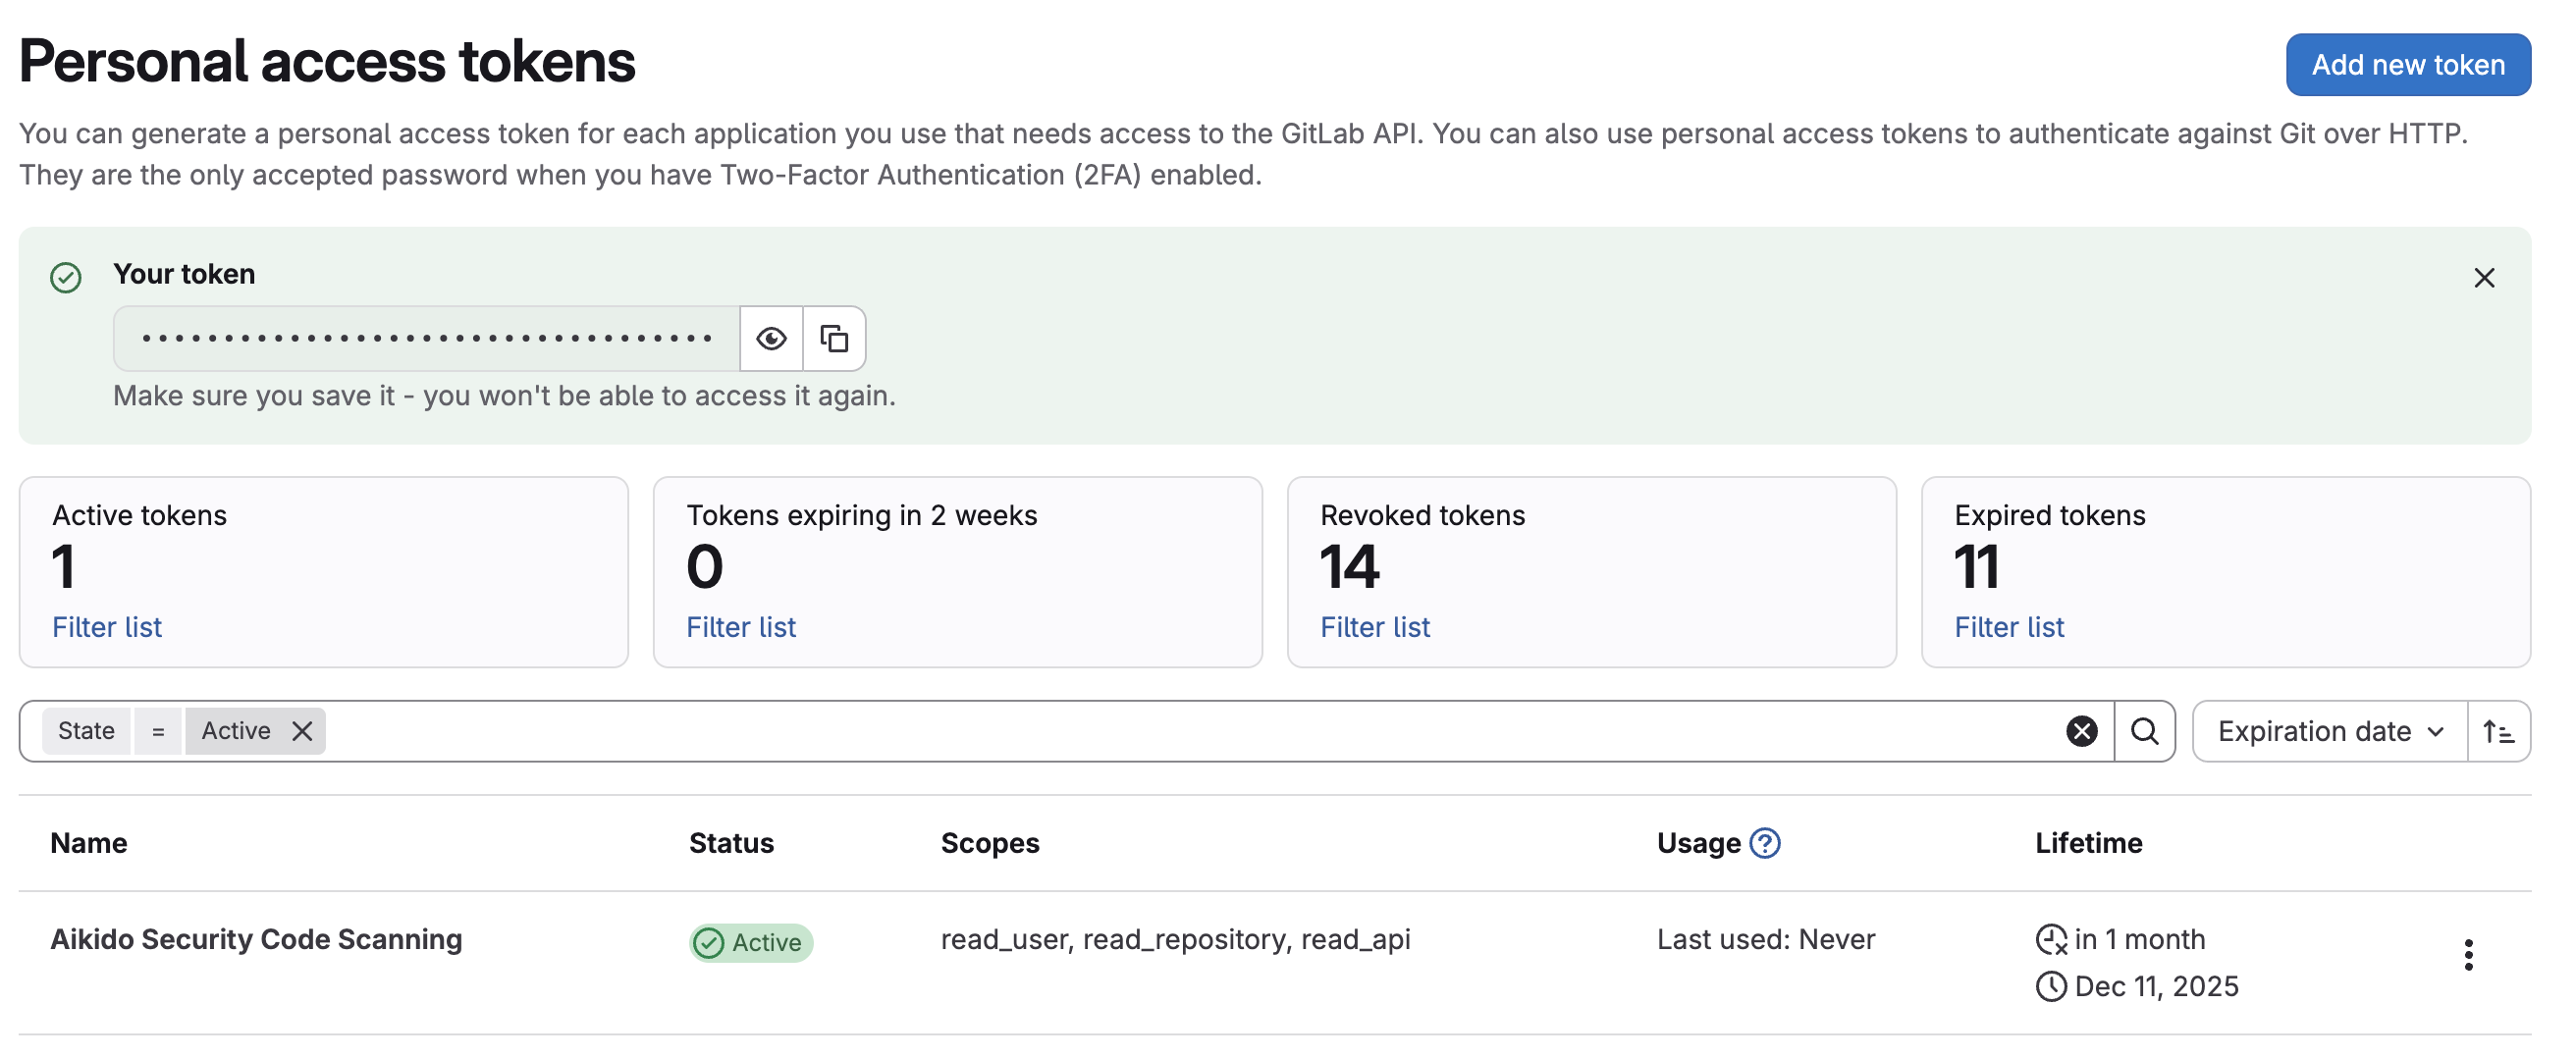
8. トークンをコピーし、「[ワークスペースのアクセストークンを更新](https://app.aikido.dev/onboarding/gitlab/update-workspace-access-token)」ページのために保管してください
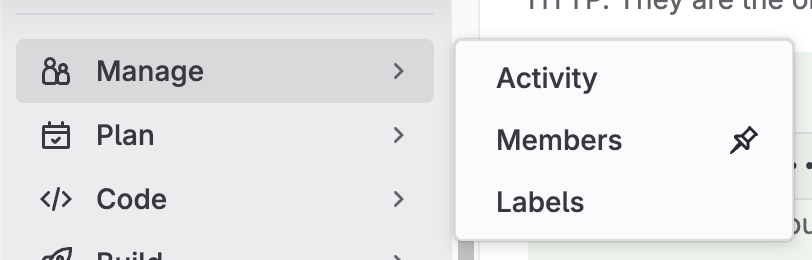
9. メンバー ページに移動します: **グループ** > **管理** > **メンバー**
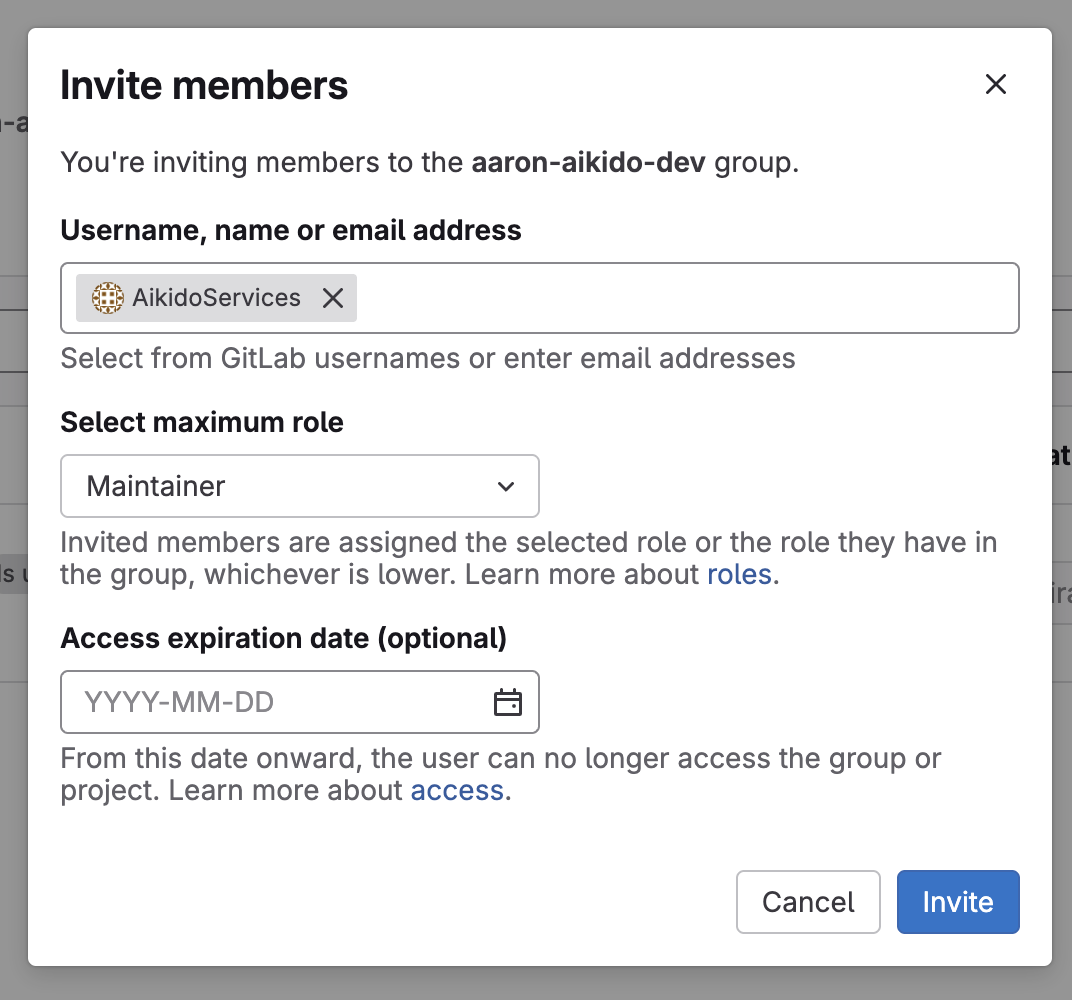
10. 「**メンバーを招待**"
11. 先ほど作成した新しいサービスアカウントを検索し、ロールを「**メンテナー**"
---
# Agent Instructions
This documentation is published with GitBook. GitBook is the documentation platform designed so that both humans and AI agents can read, navigate, and reason over technical content effectively. Learn more at gitbook.com.
## Querying This Documentation
If you need additional information that is not directly available in this page, you can query the documentation dynamically by asking a question.
Perform an HTTP GET request on the current page URL with the `ask` query parameter, and the optional `goal` query parameter:
```
GET https://help.aikido.dev/docs/docs-ja/kdosukyan/connect-your-source-code/connect-gitlab-account-to-aikido/code-scanning-with-a-service-account-access-token.md?ask=&goal=
```
`ask` is the immediate question: it should be specific, self-contained, and written in natural language.
`goal` is optional and describes the broader end goal you are ultimately trying to accomplish on behalf of the user. GitBook uses it to tailor the answer towards what is most useful for that goal.
The response will contain a direct answer to the question and relevant excerpts and sources from the documentation.
Use this mechanism when the answer is not explicitly present in the current page, you need clarification or additional context, or you want to retrieve related documentation sections.